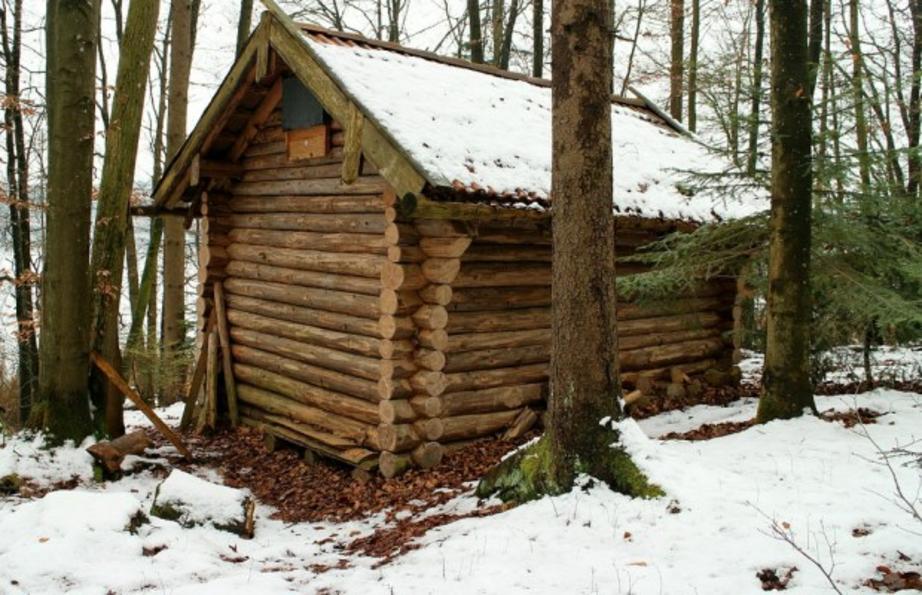
How to build your own survival log cabin in five steps
There is a little bit in all of us that would like to escape into the wild, without technology and living off the land in a small log cabin. That, or maybe you are looking for a shelter in your bug-out location for when the sh-t hits the fan. That very concept has seen some survivalists specialize in the creation of their own survival cabins and wilderness huts that look cozy enough to stay warm in the winter, and sturdy enough to withstand a thicket of snow and a few good years of varying weather.
As a prepper and survivalist myself, I can say that the idea of a survival cabin in the woods is an ideal retreat, let alone a way to survive. So long as there is a plentiful source of water and food around, a log cabin is one of those projects that I, and a lot of other preppers I know, have always dreamed of doing.
In this post, we see how to make that dream to come to life, as David Woods, from Log Cabin Hub, a resource for anyone looking to build their own log cabin, gives us some quick words on how to make a log cabin, or what he calls, a survival cabin, using these five easy steps.
First, let’s take a look at what survival cabins actually are and why you might need one.
What is a survival cabin?
A survival cabin is a small log cabin built that has been built quickly using only what the land provides. With this five-step guide, you should effectively be able to build this cabin if you were in the wild, with a friend, and the only tools you had were your axes. It’s exactly that, the best house and shelter you can build without needing any large tools. It is a solid and dependable home that uses logs as a way to keep a strong foundation and shelter, and double as a way to keep the place insulated against the cold. A survival log cabin is not going to get blown away, and if made correctly, will stand and remain standing for quite some time.
The structure of the survival cabin is made so that, if you don’t have them, there is no need to use screws or nails (although these are an option if you have them). Instead, most log cabins and survival cabins use carved locking methods that allow the ends of the logs to interlock with the others. This survival cabin uses a v-locking system, where ‘v’ shaped notches are cut into the logs and sit in the grooves of each other to create a firm wall for the log cabin.
Why you need a survival cabin?
There are many reasons for building a survival cabin. You might be building in preparation for wilderness survival, or, you might be out in the wilderness and find yourself needing a semi-permanent structure that will last a few months – in which case, your regular tarp shelter won’t do. You might even be looking to use it for when you need to get out of dodge when the sh-t hits the fan.
Whatever your reason, a survival cabin should be able to be constructed quickly, using only natural materials that are readily available. That, and the survival cabin needs to be strong and durable. In other words, you need a survival cabin that is simple, quick and an easy emergency shelter which is more durable than a typical tarp.
What do you need to build this survival cabin?
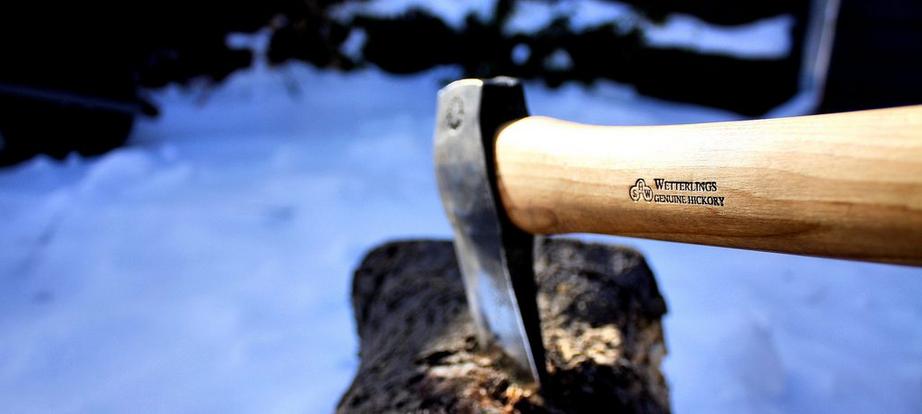
The only tool you will need to create this log cabin is an axe. Your axe needs to be a good sturdy one if you are going to start building a wilderness cabin, so make sure you have something for that purpose, and not just a cheap little axe that isn’t going to be able to chop good sizes of wood. If you have more time, and want to invest that time in building a more firm and homely survival cabin, you can, of course, use more tools. Using other tools will even speed up the process to build a good survival cabin and allow you to create more complex, but more spacious and stronger, architectural designs.
If you do have extra resources, the tools you would need to build a log cabin are tools such as handsaws, hammers, nails, and screws and shovels. These tools are going to be useful in any constructive work, so if you have the chance to take, then do so. If you are planning your building in preparation, you might want to choose a different floor plan than this quick survival shelter, as the purpose of this is to provide a quick, solid, shelter.
What you also need is a friend, as building a log cabin or survival cabin can be very taxing on the body. You are dealing with heavy logs for most of the time, and you have to lift them a lot. If you have a friend that can help you, this quick survival shelter should be able to be built much quicker than other types of log cabins, as it is a quick survival cabin. After some good days of full sunlight, you should be able to have a 10×10 foot small survival cabin built in these five simple steps.
Five steps to make a survival cabin
1. Source the Logs
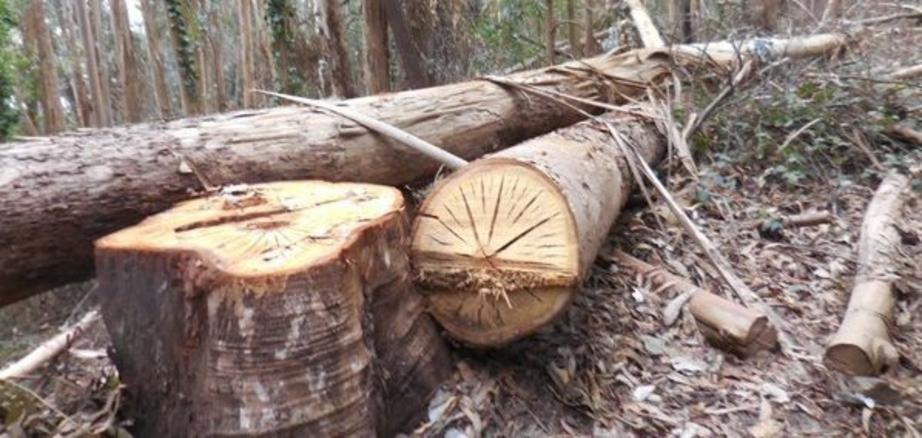
To begin with, you will need 55 logs that are about 10 foot in length, and 10 inches in diameter. Given that the average lodgepole pine is 80ft tall, you’ll be able to get roughly five logs from each tree you fell. So you’ll need to fell roughly 11 trees. With a sharp axe, and following the correct procedure of making two cuts just about knee height in the front to form a wedge shape, and one slightly higher in the back.
Once felled you will need to prepare the logs. With a sharp axe held on its side, run it down the logs and remove all branches and cut the log into 12ft lengths.
2. Prepare your Site

Choose a site that is close to water, has plenty of natural shelter and is not near any dead standing trees. You are obviously going to want to stay away from any slopes or small hills, as this will just create an uneven working space and will require you to create a level foundation which is just more work.
To prepare your site, clear away all the debris and level as much as you can. If you want to make sure your survival cabin is long lasting, you might want to think about some form of foundation, but for the purpose of building a quick survival cabin you’ll skip that.
You can expect to spend around one hour on your site preparation.
3. Build the Walls
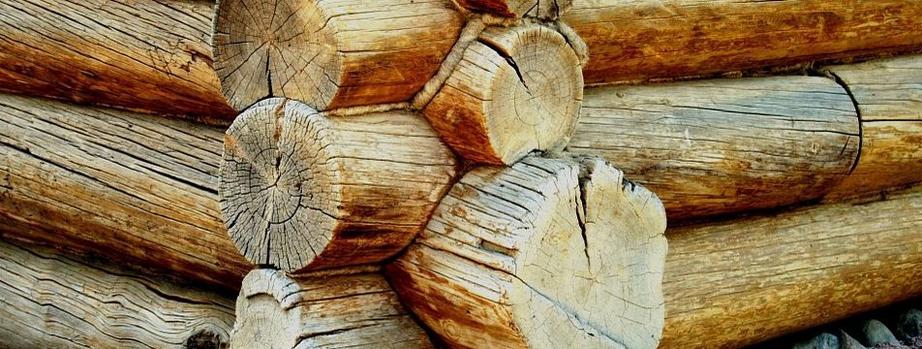
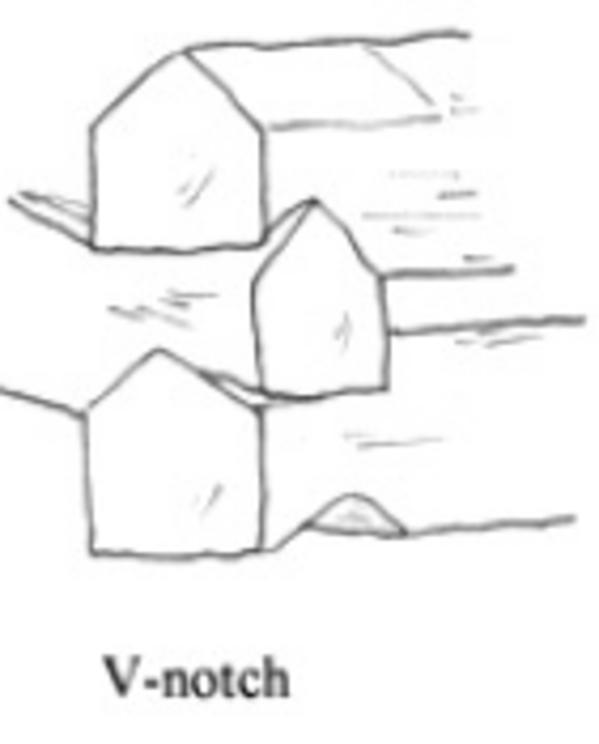
Choose the four straightest and longest logs you have. These are to be used to create a square shape which will form the base of your survival shelter. To connect the base logs, use your axe to make a ‘notch’ on the underside at either end of two of the logs, then slot these on top of your other two base logs. The notch should be a basic v-notch (image on the right).
To raise the rest of the walls is simple; continue notching the logs and stacking them until you have the height you need. Once you’re finished you’ll have a cuboid shape, and you are ready to add a pitched roof.
4. Cut the Openings
Keeping the openings at a minimum is important, especially for the type of cabin we are designing here. The reason why they are good to keep at a minimum is that if you are only making a doorway, having a more limited opening will reduce the amount of airflow and draft that runs through the cabin. If you have an internal fireplace (a bit more advanced as it needs to be enclosed for safety reasons) you want to keep the cabin as warm as possible.
To make your opening, when you have reached the height of your door, cut downwards through one log at a time. If you are not making a door to block your opening, you will need to create only a space that is large enough to crawl through. That way you are able to keep that draft to a minimum.
5. Lay the Roof
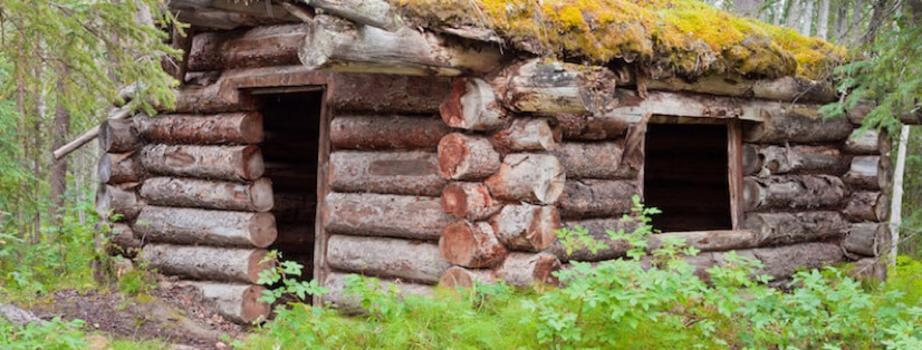
Laying the roof is the most challenging part of making any type of log cabin. Making a survival cabin is no different, it is tricky. The aim is to create two opposite gable walls. A gable wall is basically the end of the wall with a triangle on top of it.
To make this, you need to keep stacking logs that get shorter in length to create a triangular shape. When you are half way up, take two more of your best logs and notch them (remember that v-notch? You will be getting good at it now) to connect both the gable walls, one on each side of the triangular shape you are creating. Continue stacking the logs until you reach the peak, and finish the main log work off by connecting the two gable walls with one ridge log.
You can use smaller logs to create a roof rafter, which you can cover with any natural materials such as leaves, branches, and mulch to finish the roof.
The Finished Survival Cabin

Richard Louis “Dick” Proenneke and his amazing log cabin that took much longer to build. It would take some experience to get to this level of cabin building. Image: NPS.
So there it is, a quick survival cabin. It definitely is no Dick Proenneke cabin (pictured above) which is a heritage masterpiece, but it will definitely serve its purpose in keeping you warm and providing a strong, sturdy, shelter. Wood is one of the most readily available natural resources you will ever find and is an evergrowing free resource in the wilderness that we can all use as a means to create a survival shelter or log cabin.
Sure, the circumstances in which you’ll ever need to build a log cabin like this are few and far between, but building a log cabin or survival cabin can be rewarding in the sense that you have made your own shelter from natural materials that you have cut yourself and it is something you can sleep in, cook in, and stay warm in. If you perfect your skills further, you can advance on to creating a great log cabin that you can enjoy with your family and friends, or just that perfect place to escape to, or use as a bug out shelter should the need arise.
But one thing is certain, once you learn these natural survival skills, they will never leave you.
For full references please use source link below.

