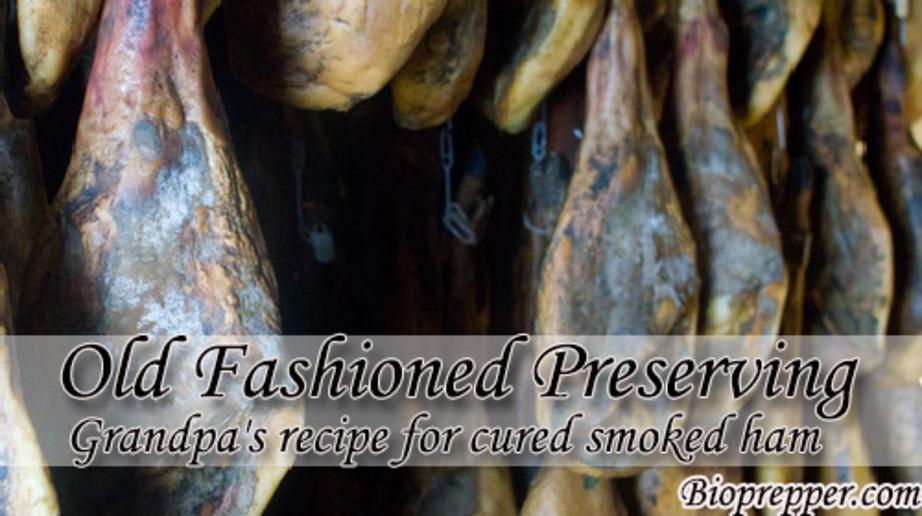
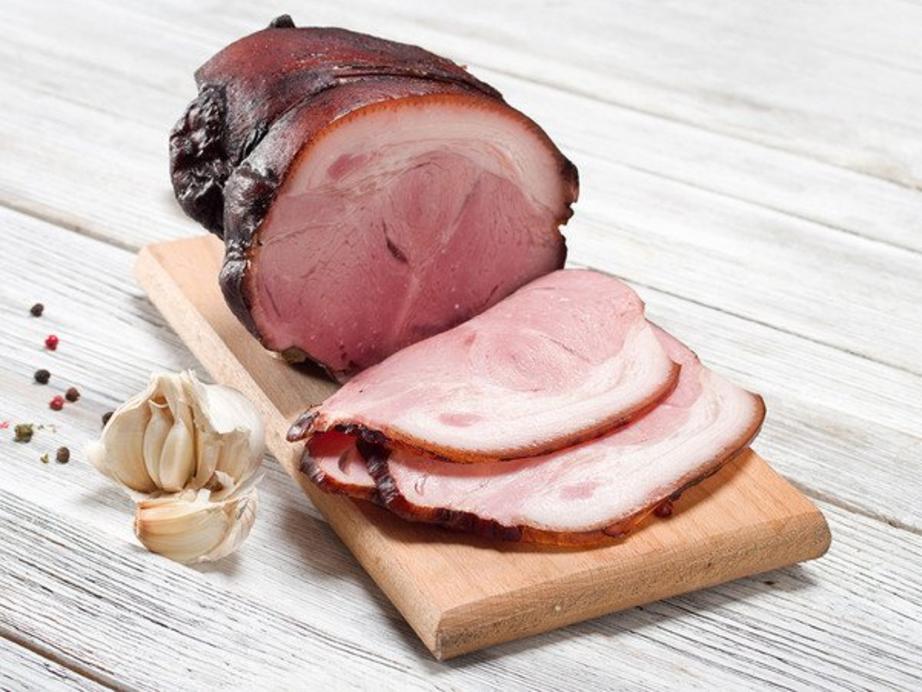
Old fashioned preserving: Grandpa’s recipe for cured smoked ham
Curing hams used to be the best way to preserve pork before there was reliable refrigeration.
Curing and smoking pulls the moisture from the ham to make it safe to store at room temperature. We don’t cure for this purpose anymore, but rather to give the ham a great flavor and color. Now think of a grid down scenario where the electricity will no longer be available and you’ll have to preserve everything the old-fashioned way. Not having the skills and the knowledge to do this you will not be able to preserve food for longer periods of time.
Old Fashioned Preserving-Grandpa’s recipe for cured smoked ham
Homemade curing mix:
This dry rub mix recipe has been in my family and handed down for generations.
- Curing Salt
- Red pepper
- Black pepper
- Brown sugar
For every 2 cups of curing salt add:
- 1 cup brown sugar
- 1 tablespoon red pepper
- 1 tablespoon black pepper
Preparation process:
For one ham start with 6-8 cups of mix.
To start your dry cure of ham, you need to start by selecting a good ham. Pick up a high-quality ham, which is fresh and has come from a young hog. For dry curing, you need a long, thick cushion of ham, preferably a deep, wide butt face, which has the least amount of external fat. Before you begin with the curing procedure, make sure that the ham has been kept properly chilled, preferably at temperature below 40° F.
While most of those who cure ham at home go only with salt, but you can always experiment with a few more ingredients and decide what works best for you. Ideally, for a100 pounds of fresh ham, you would need 8 pounds of salt, 2 pounds of sugar, and 2 ounces of saltpeter. Mix all these ingredients well and divide them into two equal batches. You will be using the first batch on the first day of the curing and second batch will be used the next day.
Take a fresh ham with skin on, wash off in water and pat dry.
Put a layer of curing mix on the tray to act as a bed for the ham. This bed of curing mix should be ¼” – ½” deep.
Place the ham on top of the layer of mix.
The curing mixture should be rubbed thoroughly into the surface of the meat, especially on the lean surfaces because the skin and fat surface will allow the least absorption of the salt mixture. Therefore, whatever you will be able to push through the lean surface will be what works as a cure for the meat.
TIP: After applying the first batch of the curing mixture, keep the ham on wooden shelf or in a wooden bin but take care not to use a fragrant wood like pine because the ham, or any meat, has a tendency to absorb flavors from its surroundings.
At each joint, cut slits down to the bone. These slits are needed because you have to pack extra salt around the joint so the fluid will draw out. Otherwise, you could spoil the ham. There are two joints, the
H-bone(hip) and the hock.
Pack the slits you made at the joints with the curing mix.
Rub and cover the rest of the ham with the curing mix.
After 18 days check the ham. As far as ham is concerned, you need to cure it on the basis of seven days per inch of cushion depth or one and a half days per pound. You need to keep accurate record of this proportion so that you do not over or under-cure the ham. Once you are satisfied that your ham is cured enough, just remove the curing mixture by simple washing. You may use a hard brush to remove any traces of the cure from within the crevices on the meat surface. Allow the meat to dry before storing it in an environment of 50 to 60° F for about a fortnight.
TIP: If you are going to put this ham in the smoker it has to be firm to the touch. If not firm to the touch it is not ready to come out of the curing mix. If it is not firm it is because there is still too much fluid left in the ham.
If ham is ready to be smoked, thoroughly rinse off the salt and pat dry before smoking.
In south-eastern Virginia, most hams are smoked to accelerate drying and to give added flavor. The best way to obtain a ham that can last for a long period of time is to smoke it for a long time at a low temperature (lower than 90° F). Wood from hardwood species of trees (trees that shed their leaves in the fall) should be used to produce the smoke. Hickory is the most popular, but apple, plum, peach, oak, maple, beech, ash, mesquite, oak, pecan, alder or cherry may be used.
Some North American ham and bacon makers smoke their products over burning corncobs
In Europe alder is the traditional smoking wood, but oak is more often used now, and beech to a lesser extent.
TIP: Do not use pine, cedar, spruce, and other needle-leaf trees for smoking meat, because they give off a resin that has a bitter taste and odor.
The fire should be a “cool,” smoldering type that produces dense smoke. Keep the temperature of the smokehouse below 90° F. Hang hams in a smokehouse so that they don’t touch each other. Hams should be smoked until they become chestnut brown in color, which may take one to three days.

We are straying away from our roots on a dangerous road from which there will be no turning back. And the good and bad news is that we are the last generation that can truly do something about it. We no longer know how to live without refrigerators, without cars, without phones or without supermarkets.
What will you do tomorrow if you simply are unable to buy things?
Saving our forefathers ways starts with people like you and me actually relearning these skills and putting them to use to live better lives through good times and bad. Our answers on these lost skills comes straight from the source, from old forgotten classic books written by past generations, and from first hand witness accounts from the past few hundred years. Aside from a precious few who have gone out of their way to learn basic survival skills, most of us today would be utterly hopeless if we were plopped in the middle of a forest or jungle and suddenly forced to fend for ourselves using only the resources around us. To our ancient ancestors, we’d appear as helpless as babies.
In short, our forefathers lived more simply than most people today are willing to live and that is why they survived with no grocery store, no cheap oil, no cars, no electricity, and no running water. Just like our forefathers used to do, The Lost Ways Book teaches you how you can survive in the worst-case scenario with the minimum resources available. It comes as a step-by-step guide accompanied by pictures and teaches you how to survive like they did 150 years ago.

