How to make beet kvass
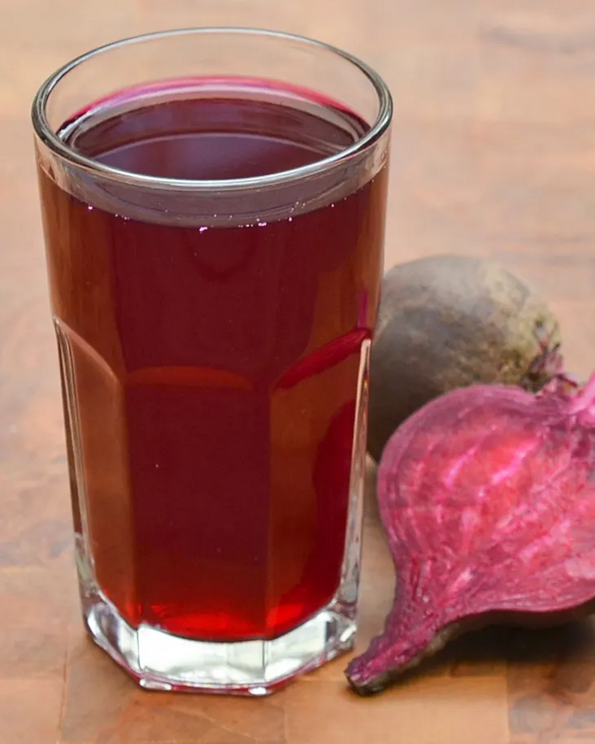
Have you ever tried beet kvass? Earthy, salty, sour, and sweet, this jewel-toned lacto-fermented beverage is full of probiotic goodness. Plus it’s ridiculously easy and affordable to brew right on your kitchen counter.
Making beet kvass is similar to the process for preserving sauerkraut, traditional dill pickles, and kimchi. Traditional to Russia and the Ukraine (and popularized by Sally Fallon’s Nourishing Traditions), beet kvass is the result of fermentation by friendly Lactobacillus bacteria, which gives the brine a tangy flavor. Some recipes call for adding whey, which speeds up the fermentation process, but kvass can be made more simply with just beets, water, and salt. Depending on the ingredients, your environment, and your personal taste, the fermentation process may take a couple of days to a couple of weeks.
Beet kvass may be an acquired taste for some, but those who love it often wax enthusiastically about its health properties and energizing effects. Like other lacto-fermented, probiotic foods, beet kvass can promote intestinal health and aid digestion. You might drink it straight-up as a daily tonic or cook with it like vinegar — it’s great in salad dressings and soups like borscht. It even makes an interesting cocktail mixer, similar to a vinegar shrub.
 Clean and trim the beets.
YieldMakes about 1 pint
Ingredients
- 12 ounces beets (approximately)
- 1 to 2 teaspoons sea salt or kosher salt (see Recipe Notes)
Optional flavorings: ginger, lemon, orange, spices
Equipment
Cutting board and knife
Clean 1-quart jar with canning lid or plastic lid
Bowl or plate to place under jar during fermentation
Instructions
Clean and trim the beets: Scrub the beets. Trim the tops and tails, but leave the skins on.
Dice the beets: Cut the beets into 1/2-inch cubes. It is not necessary to cut precise shapes and sizes; you just want to give the beets enough surface area to ferment. However, avoid finely chopping or grating the beets, which can lead to very rapid fermentation and alcohol production.
Place the beets in the jar: Place the beets in a very clean jar.
Add salt: Add salt to the jar. If you wish, you can also add flavorings like ginger, lemon, orange, or spices.
Add water: Cover the beets with water, leaving at least 1-inch of headspace at the top of the jar.
Cover the jar: Cover the jar tightly.
Let it ferment: Let the jar stand at room temperature. You may see bubbles inside the jar and brine may seep out of the lid; place a bowl or plate under the jar to help catch any overflow.
Check it daily: Open the jar once a day to taste the liquid and release gases produced during fermentation. If any mold or scum has formed on the top, simply skim it off.
Strain and refrigerate: When it tastes strong enough for your liking, strain out the beets and transfer the kvass to the refrigerator. You may drink it right away, but it's often best after a few days. As a fermented beverage, this kvass will last for quite some time, at least a month or longer.
Recipe Notes
Salt: Use salt that is free of iodine and/or anti-caking agents, which can inhibit fermentation.
Water: Chlorinated water can inhibit fermentation, so use spring, distilled, or filtered water if you can.
Making another batch: To make another batch of kvass, leave a little brine in the jar with the beets, add a teaspoon of salt, fill with water, and proceed as before. Second and third batches can be made this way, though they will taste weaker than the first.
Scaling up: This recipe can be easily doubled for a half-gallon jar or quadrupled for a gallon jar.
Adding starters: If you'd like to speed up the fermentation process, you can add a tablespoon or two of whey to the jar. Some people add sauerkraut or kimchi juice for the same effect.